EN ES

For full access, please log in or sign up for a FREE account

Log In Sign Up

Playing With Angles

sofware
Software: Pencil Code
| print Print as PDF |
Like (3)
|
Share

In this exciting geometry lesson, learners will embark on a creative journey into the world of angles using Pencil Code. Through hands-on coding activities, they will unlock the power of lines and angles to craft stunning geometric artworks. By the end of this lesson, students will not only grasp the fundamental concepts of angles but will also have a canvas filled with their unique creations.


Lesson Overview

Overview Activity Objectives
 Opening Activity Learners will become angle detectives, using their skills to guess the values of various angles. 
  • Introduce angles to learners through a fun online game.
Main Activity  Learners will use Pencil Code to draw and manipulate lines and angles, creating geometric artworks by coding various shapes and patterns. They'll experiment with angle measurements to design unique and visually appealing digital art. 
  • Learners creatively apply their knowledge of angles and angle measurement by using Pencil Code to produce geometric artwork.
Closing Activity Learners will showcase their creations to their peers.
  • Learners will showcase their creations to their peers.


Prior Knowledge
Learners should be able to :

  • Define lines and line segments.


Lesson Objectives

  • Introduce different types of angles.
  • Create an art using Pencil code.


Learning Outcomes

Learners will be able to: 

  • Comprehend the fundamental concepts related to angle measurement, including concepts like acute, obtuse, and right angles.
  • Demonstrate the ability to sketch angles of specified measures, showcasing their understanding of angle construction.
  • Employ their understanding of angles to create artistic and geometric patterns using Pencil Code.


Pre-lesson Preparation

  • Like all lessons on Eddy, this lesson follows a certain approach. If this is your first time implementing an Eddy lesson, check out our lesson approach for more information.
 
  • Prepare necessary technology/hardware in advance
    • Devices (tablets/laptops/Chromebooks/computers) - one per team
    • A stable wifi connection.
    • Access to Pencil Code on each device.


Slide Image

Slide 3

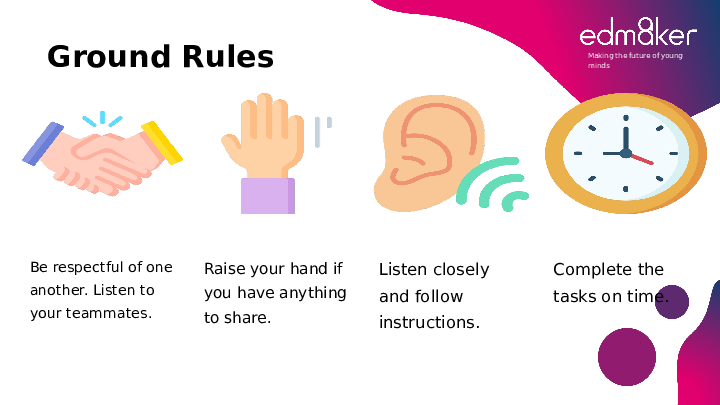
Introduce the ground rules to learners.
You can check out our lesson approach if it’s your first time conducting an Eddy lesson.

Slide Image

Slide 4

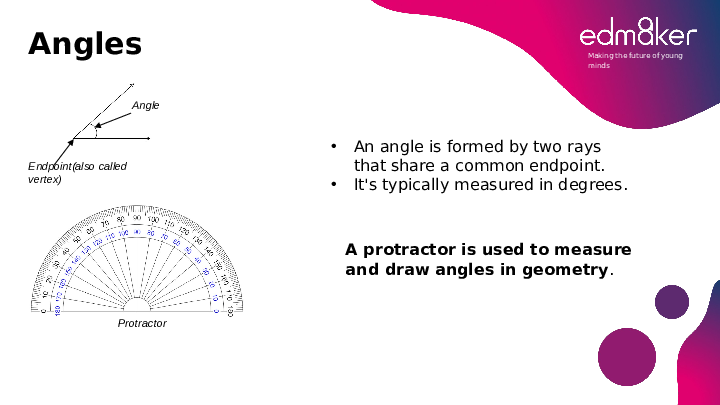
Define angle, degrees, and protractor using clear explanations and visual aids.

Slide Image

Slide 5

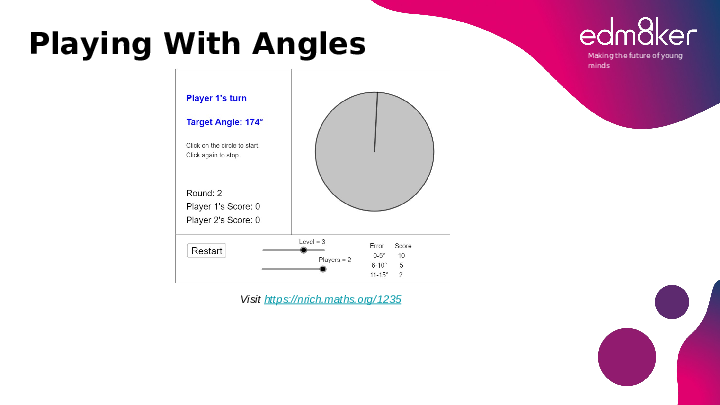
Ask the learners to open the game.
Explain that they will be playing a game of guessing angles.

Slide Image

Slide 6

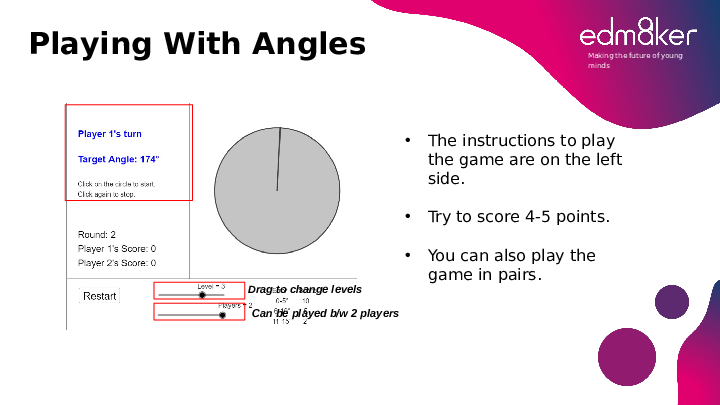
Begin by explaining the game rules located on the left side of the slide to the learners. Ensure that they understand the objective of the game and how it's played.
Emphasize that the goal for each learner is to score 4-5 points in the game. Explain that they earn points by stopping the spinning circle at the correct angle value.
Inform the learners that they have the option to play the game in pairs if they prefer.


icon
What to do if the game doesn’t work properly?
Check internet connectivity, and browser compatibility, and ensure pop-up blockers are disabled. If the issue persists, have a backup game or activity ready, such as a paper-based angle estimation challenge.
icon
How does the guessing game reinforce learning?
The guessing game reinforces learning by requiring students to apply their understanding of angle measurement, encouraging critical thinking, and improving their ability to estimate angles accurately.
icon
How to make this activity challenging for advanced learners
For advanced learners, you can ask them to play the game at harder levels (level 3 or 4).


Slide ImageSlide ImageSlide Image

Slide 7,8,9

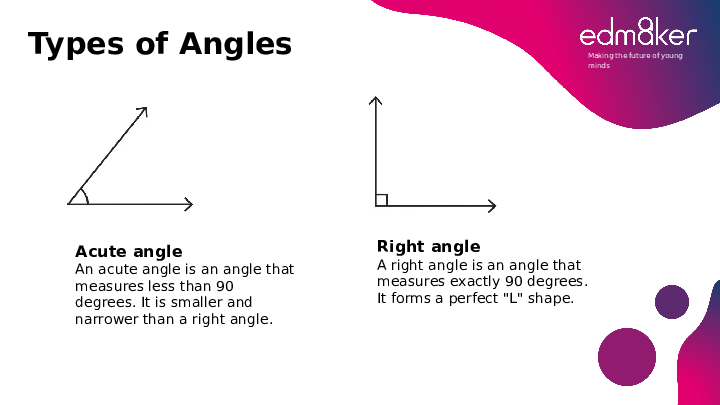
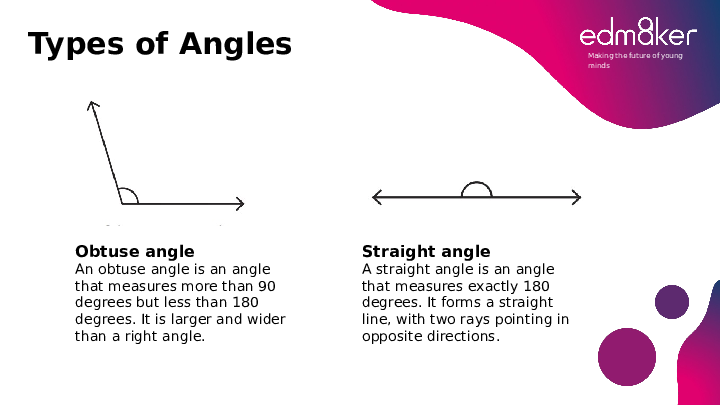
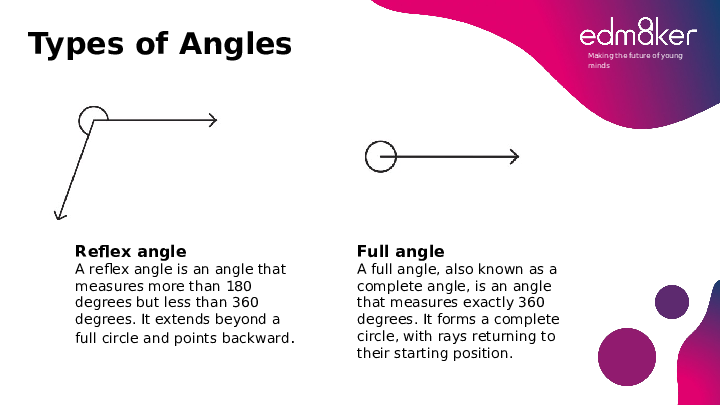
Introduce the different types(acute, obtuse, right, straight, reflex, and complete) angles to the learners.

Slide Image

Slide 10

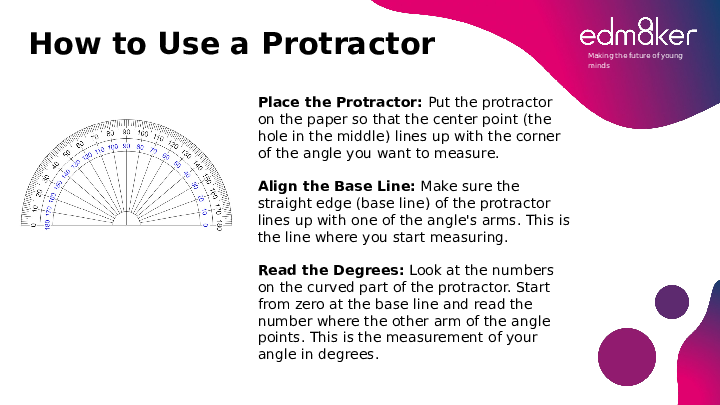
Explain to the learners the step-by-step process to measure angles using a protractor.

Slide Image

Slide 11

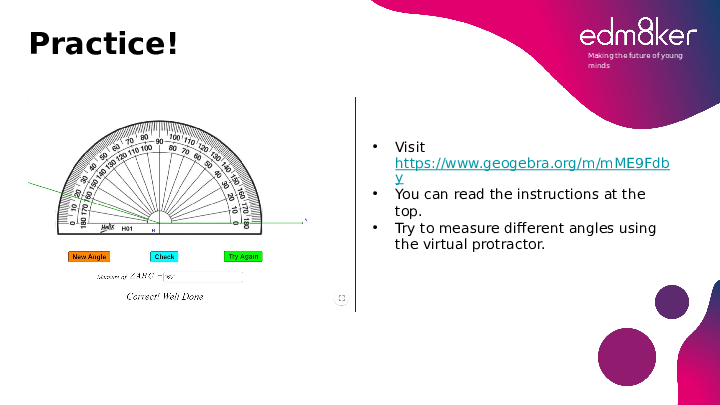
Ask the learners to visit Geogebra.
Encourage learners to begin by reading the instructions provided at the top of the Geogebra page. 
Encourage students to explore the tool, select different angles on the screen, and practice measuring them.

Slide Image

Slide 12

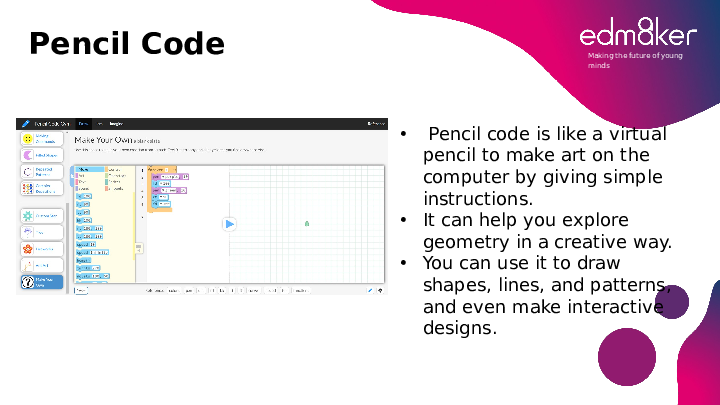
Introduce Pencil Code to the learners.
Explain that Pencil Code is a digital tool akin to a virtual pencil used to create art on a computer through simple instructions.
Highlight that learners can use Pencil Code to draw shapes, lines, patterns, and even design interactive elements.


To demonstrate how to use Pencil Code, use this video tutorial

Slide ImageSlide Image

Slide 13, 14

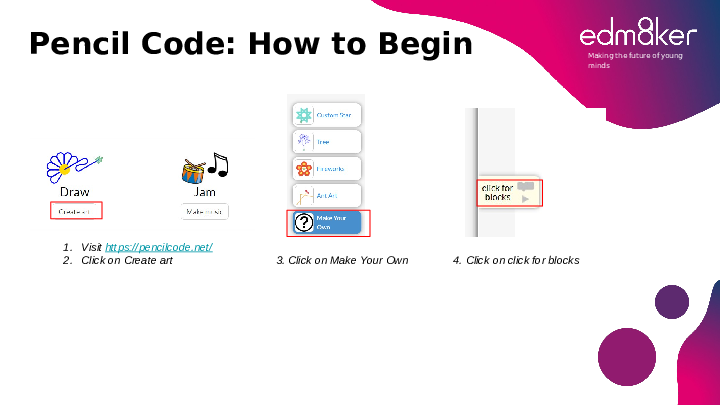
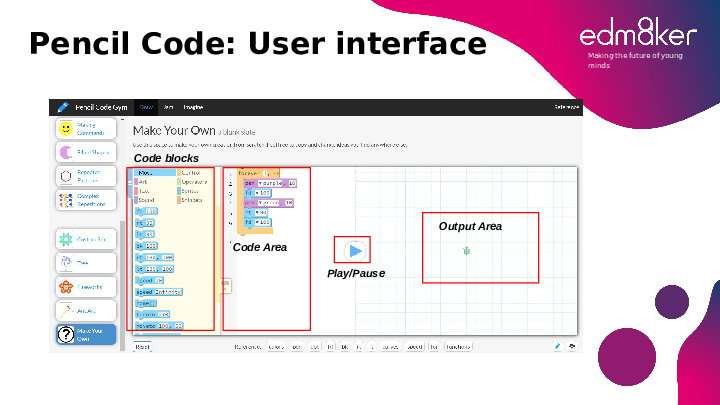
Guide learners on how to begin with Pencil Code.
Ask them to explore the user interface.

Slide Image

Slide 15

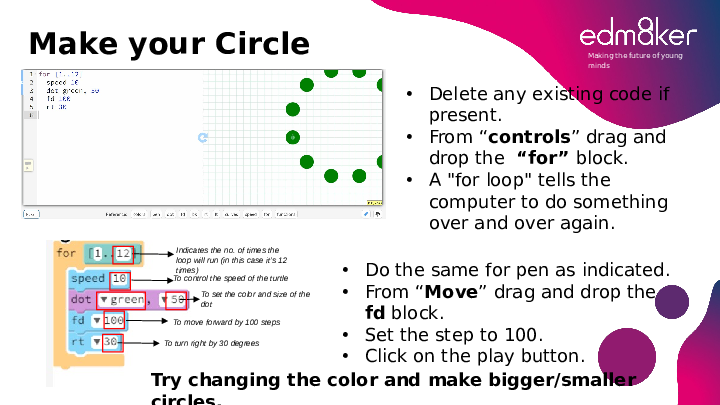
Guide learners to create a circle segment using Pencil code by following the instructions.
Introduce “for loops” to the learners.
Ask them to create circles of different sizes and colors.

Note: A "for loop" is like a repeating command in a computer program that helps it do something over and over again until a certain condition is met.

Slide Image

Slide 16

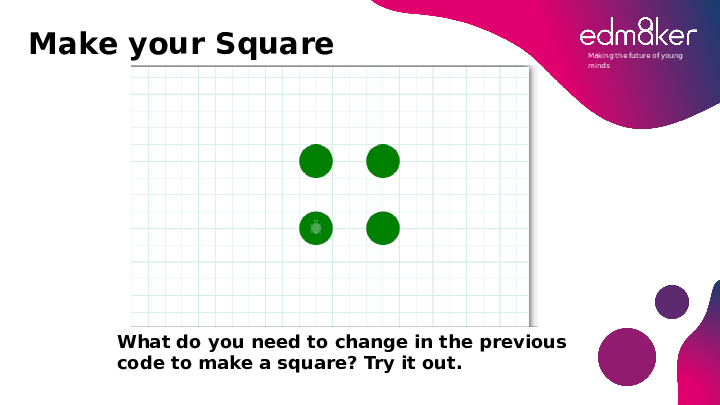
Challenge the learners to modify the code to create a square.
Encourage them to think logically and figure out the correct approach.

Slide Image

Slide 17

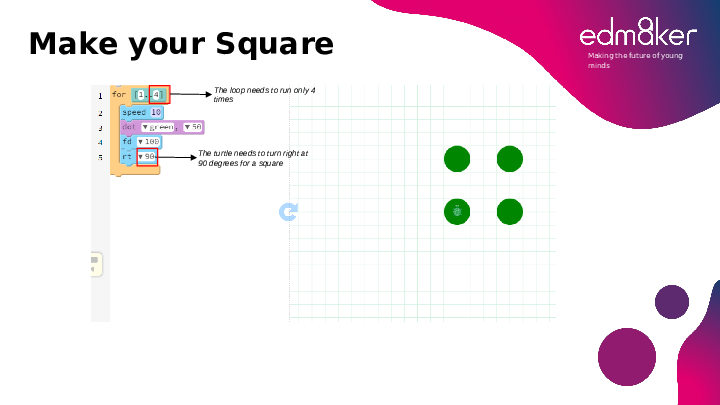
Discuss the process of drawing a square using pencil code.

Slide Image

Slide 18

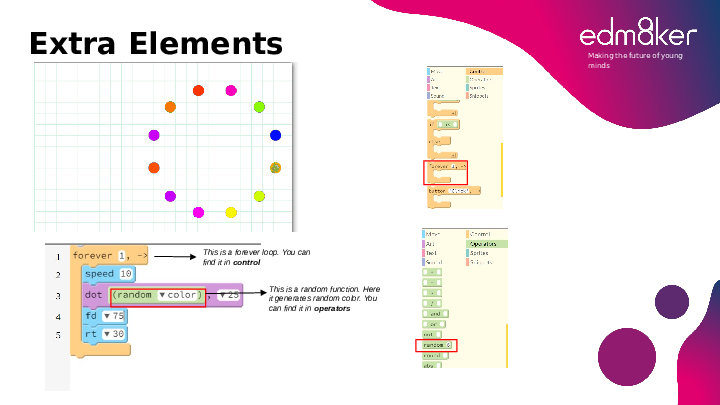
Define the "forever loop" as a repeating command in coding found under "control." Emphasize that it tells the computer to perform certain actions continuously.
 Explain the "random color function" located in "operators." 
Describe its purpose, which is to generate random colors in your code, making projects more visually dynamic.

Slide Image

Slide 19

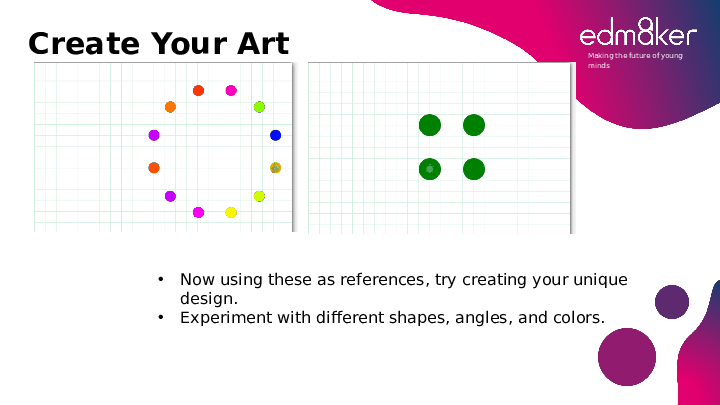
Emphasize that learners should create unique artwork using whatever they learned during the lesson.
Encourage them to experiment with variations like different shapes, angles, and diverse colors.


icon
What if students face problems using Pencil Code?
Offer Support: Encourage them to seek assistance by raising their hand or approaching you.
Step-by-Step Guidance: Provide clear, step-by-step instructions to troubleshoot the issue.
Problem-Solving Approach: Guide them to identify the specific problem and think through possible solutions. Peer Collaboration: Encourage learners to collaborate with peers, fostering a cooperative learning environment.
icon
How can I adjust this section for advanced learners?
Encourage advanced learners to experiment with multiple loops and patterns.


Slide ImageSlide Image

Slide 20, 21

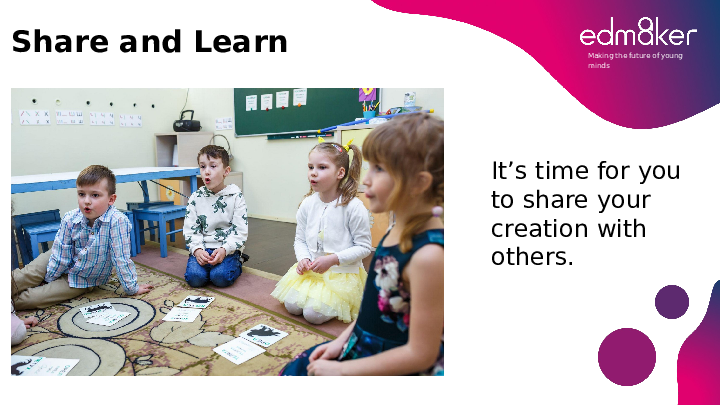
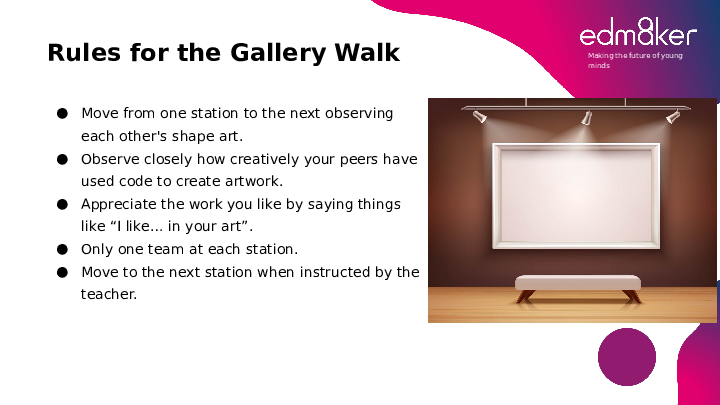
Allow learners to share their creations.
Briefly discuss the rules with the learners to be followed while sharing.

Slide Image

Slide 22

Reflection: Have learners reflect on their experience creating their art.


Understanding of Concepts

Expand
 

Emerging

The learner demonstrates a limited grasp of angle measurement concepts and coding logic. Struggles with basic application.
 

Developing

The learner shows a basic understanding of angle measurement concepts and coding logic, with occasional errors.
 

Proficient

The learner demonstrates a strong understanding of angle measurement concepts and coding logic, consistently applying them accurately.
 

Problem-Solving Skills

Expand
 

Emerging

The learner demonstrates limited problem-solving skills, struggling to address coding challenges.
 

Developing

The learner displays some problem-solving skills, occasionally seeking assistance for more complex tasks.
 

Proficient

The learner exhibits strong problem-solving skills, independently tackling coding challenges and optimizing code efficiently.
 

Creativity in Coding Projects

Expand
 

Emerging

The learner shows limited creativity in coding projects, with minimal variation or innovation.
 

Developing

The learner demonstrates moderate creativity in coding projects, introducing some unique elements or features.
 

Proficient

The learner displays a high level of creativity, designing coding projects that are visually captivating and innovative.


Comments (1)

Peeyusha Sharma
05 Oct 2023
I gave extension tasks of creating different shapes and learners really enjoyed the experience.
Like
×