EN ES

For full access, please log in or sign up for a FREE account

Log In Sign Up

Earth Explorers

sofware
Software: Google Maps
| print Print as PDF |
Like (0)
|
Share

This lesson will introduce 3rd grade learners to fascinating online globe and mapping tools, from which you can learn about diversity across biomes and cities and measure how a river has shaped over time. In addition, using online globes and maps in classrooms can help visualize abstract concepts across a global canvas, allowing learners to connect with the idea of what they learn inside to what they experience in their daily lives, community, and the larger world.

Lesson Overview

Overview Activity Objectives
Opening Activity Learners will explore different kinds of landforms across the globe.
  • Identify different continents. 
  • Explore different kinds of landforms on earth.
Main Activity Learners will design a prototype of different kinds of landforms across the globe.
  • Design a prototype of different kinds of landforms on earth with the help of clay dough and stick.
Closing Activity Learners will present their landform prototype, and reflect on the outcomes with their peers.
  • Assess the accuracy of the prototype in representing the features of the landform, and develop ways to improve it.


Prior Knowledge

Learners should be able to:

  • Identify different continents across the globe.
  • Understand the meaning of different kinds of landforms.


Lesson Objectives

Learners will:

  • Identify different continents across the world.
  • Construct knowledge of different kinds of landforms on earth such as valleys, mountains etc.
  • Design and create a landform prototype.
  • Share your doughscapes with the classroom.


Learning Outcomes

Learners will be able to:

  • Get familiar with the different continents across the world.
  • Build knowledge about different types of landforms on the earth.
  • Implement their understanding of landforms and create a prototype.
  • Share their prototype with peers and get inspired via Doughscapes walk in the classroom.


Pre-lesson Preparation

  • Like all lessons on Eddy, this lesson follows a certain approach. If this is your first time implementing an Eddy lesson, check out our lesson approach for more information.
  • Prepare necessary logistics in advance.
    • Printouts of student handout - one per team
    • Printouts of Presentation template - one per team
    • White sheets, black markers and scissors.
  • Prepare necessary technology/hardware in advance
    • Devices (tablets/laptops/Chromebooks/computers) - one per team
    • A stable wifi connection.
    • Access to Google Earth on each device.


icon
What can I do if I allocate more than three learners per group?
In the event of more than three learners per group, guide learners on ways to be equal, making time within the group to ensure everyone gets their share of hands-on learning. You can also assign the responsibility of monitoring equal making time and an opportunity to voice opinions to one team member.
icon
How does having a virtual walk on different continents and landforms lead to durable learning of the Earth’s physical features?
With Google Earth, learners can explore various regions and landforms, uncover new physical features, and observe their distinct characteristics. This interactive experience helps learners develop a more thorough understanding of the Earth's physical features. By virtually exploring different continents and landforms, learners can visualize and immerse themselves in diverse physical features such as mountains, rivers, and coastlines. This enables learners to comprehend and recall the traits of these physical features more effectively.
icon
How will a virtual walk with Google Earth help learners retain the knowledge of the Earth's physical features?
Using Google Earth, learners can engage with physical features through multiple senses, including sight, sound, and even touch (using touchscreens). This multisensory experience can enhance learning and improve memory retention.


Slide ImageSlide Image

Slide 3, 5

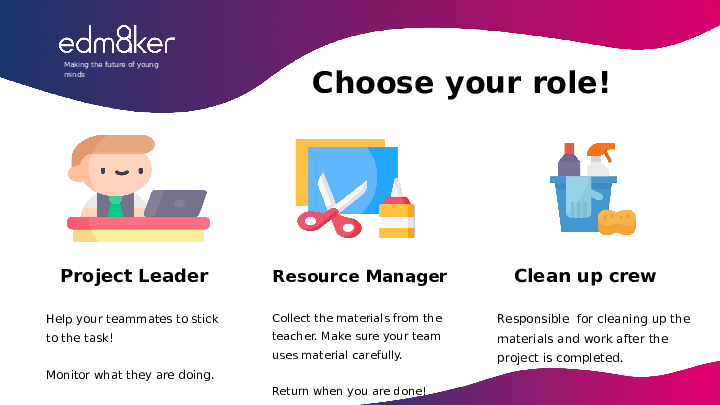
Introduce the ground rules, lesson norms, and team roles to students. You can check out our lesson approach if it’s your first time conducting an Eddy lesson.

Slide Image

Slide 6

Introduce earth’s physical features to the learners by asking, “How many continents can you locate on the globe".

Here educators can provide a 3D model/a picture and ask learners about different continents across the globe.

Slide Image

Slide 8

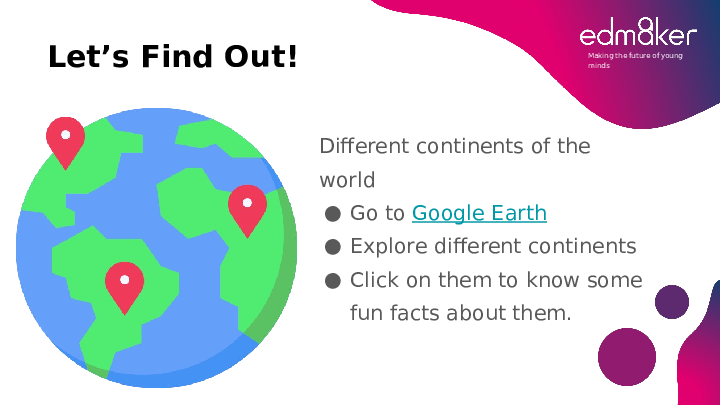
Ask learners how they are able to locate right continents and what are physical features that separates one continent from earth to another.

Now apprise them of the task for this section by sharing the project on google earth based on different continents and ask them to explore other continents and learn some fun facts about them. 

Slide Image

Slide 9

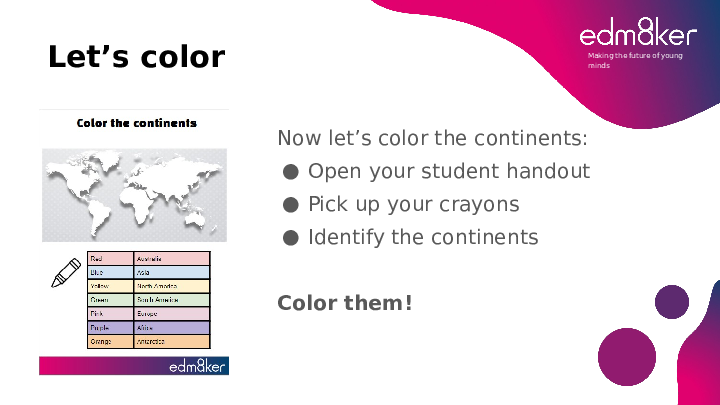
Share that learners will practice color coordinating different continents by identifying them and coloring them as mentioned in the continents worksheet.

Slide Image

Slide 10

Introduce learners to the main activity where they will be creating a prototype of different kinds of landforms.

NOTE: As a less logistics-intensive alternative to Google earth, teachers may check out these alternative activities.

icon
What if learners are not forthcoming with responses?
Ensure that you maintain a safe space in the classroom for learners to not be hesitant in case of wrong answers. Time and again, declare that it is a judgment-free zone and that every response is valuable. For simple “yes” and “no” responses, encourage learners to use a simple “Thumbs up, thumbs down” response style.
icon
How does the exploration of different continents help learners to read the globe?
With the help of Google Earth, we can take learners on the virtual exploration of different continents across the world and learn how to place different continents on the globe and get to know some fun facts about them.
icon
How can I adjust the activity for learners who require more support?
Guide learners through their virtual walk and help them with physical globes and maps.
icon
How can I adjust the activity for my more advanced learner?
As an educator, you can encourage students to compare and contrast continents based on their physical characteristics, including landforms, climate, and natural resources. It's essential to provide detailed information about each continent, such as their unique cultures, languages, and histories. To further engage learners, consider having them explore lesser-known regions within each continent using tools like Google Earth and report their findings to the class. Another great option is to assign students a specific continent and have them create a digital presentation or project highlighting their research on its physical features, culture, and history.


Slide Image

Slide 11

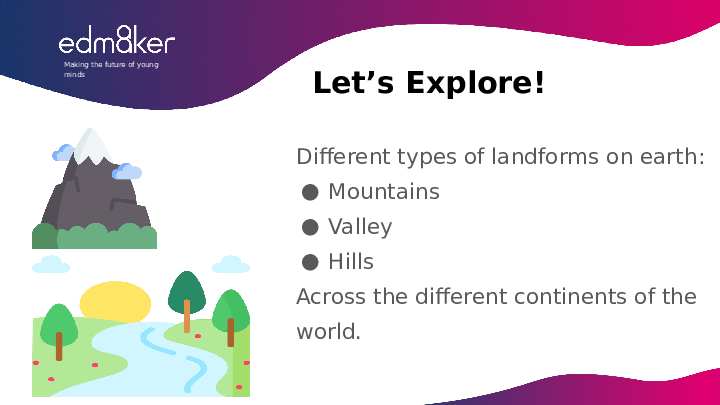
Now introduce another Google earth project to the learners where they explore different kinds of landforms and gather information about them.

Slide Image

Slide 12

Introduce learners to the main activity for the day: Creating a landforms prototype. Explain that with their exploration of the knowledge they gathered. Now they would become an artist and create a prototype.

Slide Image

Slide 13

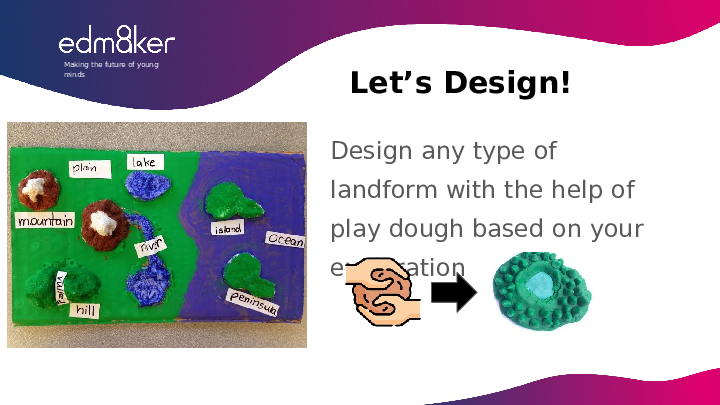
Introduce the learners with the Maker challenge where they have to create a landform prototype with the help of playdough.
 

To demonstrate how to make a landform prototype, use this video tutorial

Slide Image

Slide 14

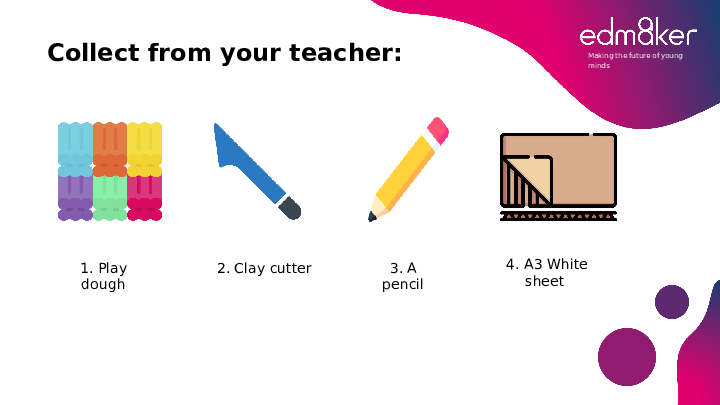
Provide learners with the necessary things which are required to create a prototype of the landform:

  • A pack of clay
  • Scissors
  • A pencil
  • Cardboard
Slide Image

Slide 15

Share the steps to accomplish this maker challenge.

Introduce them with the steps they need to follow while creating the prototype. 

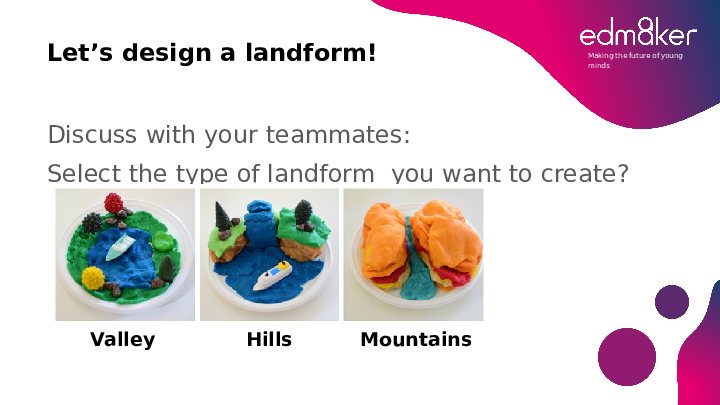
Step 1 : Selection of the landform you want to design.

Note: Educators can provide examples other than mentioned in the teaching deck.

Slide ImageSlide Image

Slide 16, 17

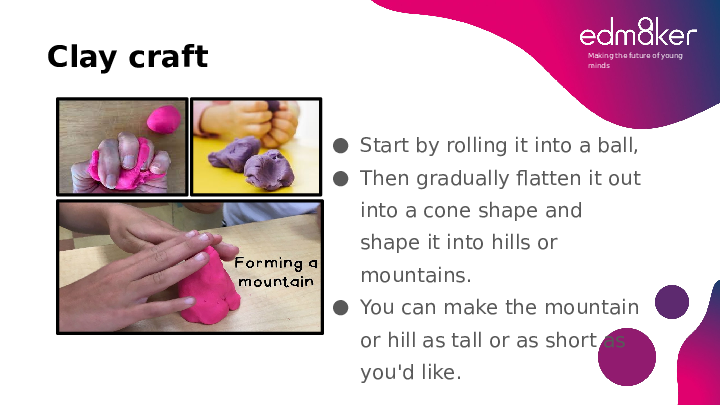
Step 2 : Help learners to shape their clay into a landform

  • Start by rolling it into a ball,
  • Then gradually flatten it out into a cone shape and shape it into hills or mountains.
  • You can make the mountain or hill as tall or as short as you'd like.
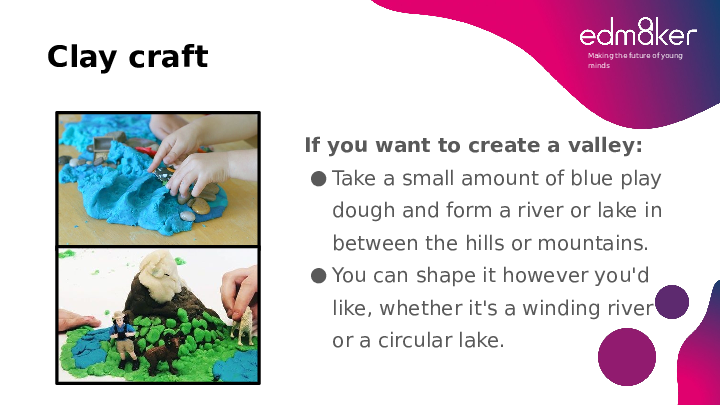
  • Likewise if you want to create a valley:
  • Take a small amount of blue play dough and form a river or lake in between the hills or mountains. 
  • You can shape it however you'd like, whether it's a winding river or a circular lake.
  • You can also share further steps with the learners if you find them struggling with the shaping, cutting or formation according to their choice of landform.
Slide Image

Slide 18

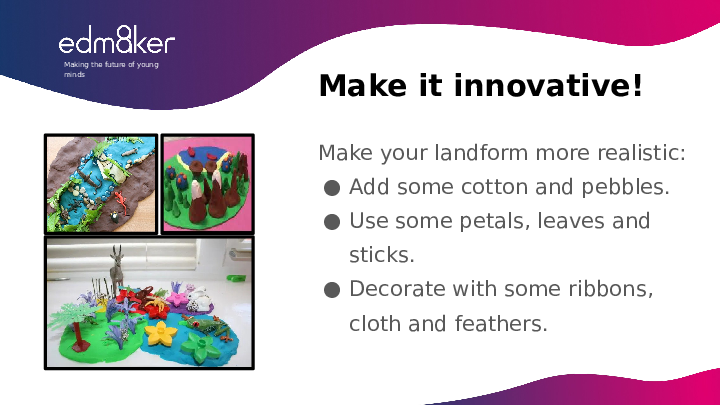
Ask learners if they want to add something more to make their landform more colorful and unique such as:

  • Experiment with different textures: Encourage learners to experiment with different textures for their clay dough, such as adding sand or rocks to create a rough surface for mountains or using smooth dough for lakes and ponds.
  • Use different colors: Use different clay dough colors to represent other landforms. For example, brown for mountains, blue for water bodies, and green for forests.
Slide Image

Slide 19

Play the timer on the screen for learners to be mindful of completing the task on time. 

icon
What if my learners find it challenging to create the prototype of the learners?
We can ask learners to draw the prototype, or they can make the prototype using clay and stick it on paper.
icon
How can I make this activity more informative for my learners?

Encourage your learners to compare and contrast their landform prototype with real-life examples. This will help them understand how the landform fits into the broader natural landscape and its significance.

icon
How can I adjust the activity for learners who require more support?
Scaffold their learning by breaking down the creation of the prototype into discrete steps. Teachers can use relevant examples (e.g. video recommendations on YouTube).
icon
How can I adjust the activity for my more advanced learners?
Instead of creating a basic landform prototype, challenge your advanced learners to develop a more complex and detailed model. For example, they could incorporate multiple landforms into one model or create a landform with intricate features and characteristics. You can integrate technology into the activity by having your learners use software like CAD or 3D modeling programs to create a virtual landform prototype. This will allow them to work with advanced tools and techniques. You can challenge your advanced learners to consider the real-world applications of the landform they are creating. For example, they could research how a specific landform is used in agriculture, urban planning, or environmental conservation.


Slide Image

Slide 20

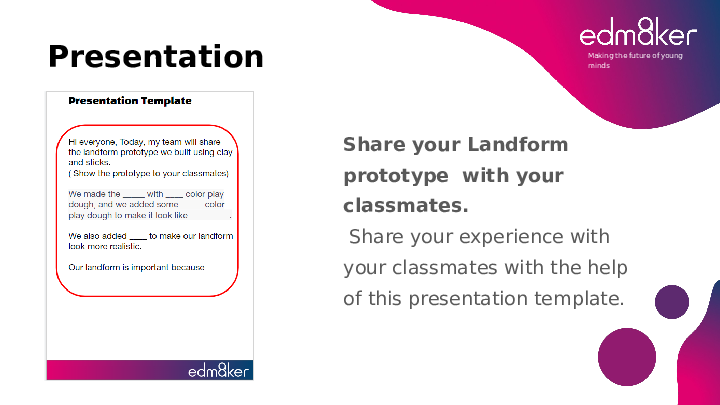
The educator asks learners to present their creations )and let the class guess the Landform prototype they have created.

  • Learners go through the presentation guidelines ( pg 2 of student’s handout) and present taking help from supplement questions from the presentation template.
  • Towards the end, teams could open the floor for feedback on how they could further refine their prototype.
Slide ImageSlide Image

Slide 21, 22

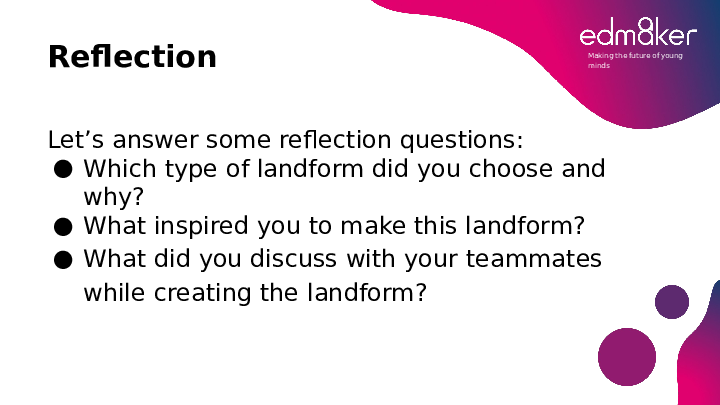
Please congratulate the learners on successfully creating a prototype of a landform. To help them reflect on their work, kindly ask the following questions. Sample answers for each question are provided below:

  • Which type of landform did you choose and why?
  • We decided to make a mountain because of its height and peak at the top. In addition, mountains are fascinating to study as they differ from the flat terrain we are used to seeing. Moreover, sculpting a hill out of clay dough was a fun and creative way to exercise our imagination.
  • What inspired you to make this landform? 
  • We were inspired by the pictures from the Google Earth project and decided to use play dough to create our version of the landform with our imagination and creativity.
  • What did you discuss with your teammates while creating the landform?
  • We discussed how to shape the clay dough to make the landform and what colors and textures we wanted to use. Additionally, we talked about adding details to the landform, such as trees, houses, or animals. Finally, we discussed various things within our teams while creating a landform, such as brainstorming ideas, planning, problem-solving, and collaborating on the final design.
icon
What advice can I give to teams whose landform prototypes need to be more accurate? How can they improve their models?
Look at pictures: Pictures of the landform you are trying to make can help you better understand what it looks like. Use your hands: Using your hands to shape the model can help you make it more accurate. Take your time: Take your time when making the model, and don't rush. It's better to take your time and make it accurate than to hurry and make mistakes. Check your work: After making the model, check it against pictures or other sources to see if it looks accurate. If it doesn't, you can make adjustments. Work in layers: Building the model in layers can help teams create a more accurate representation of the landform. They can start with a base layer and build up, adding details.
icon
How would the presentation of the prototype facilitate reflection and feedback in the classroom?
Presentation has the added benefit of encouraging cooperation, listening skills, team building, and addressing several cognitive abilities involving analysis, assessment, and synthesis.
icon
How can we use a landform clay dough prototype to highlight a landform's essential features and characteristics?
To create a detailed landform prototype, use different colors of clay dough and textures to represent features like mountains and vegetation. Add landmarks like rivers and forests, and label key features to educate others.


Identification of different continents and landforms across the world

Expand
 

Emerging

The learner can identify the continents but struggles to recognize the landforms across the globe.
 

Developing

The learner can correctly identify and recognize some landforms across the globe.
 

Proficient

The learner can accurately identify and recognize different kinds of landforms across the globe.
 

Creating a landform prototype

Expand
 

Emerging

More support from the teacher is required to create the landform prototype.
 

Developing

Some support from the teacher is required to create the landform prototype.
 

Proficient

No support from the teacher is required to create a landform prototype. Learners can work independently.
 

Landforrm prototype sharing and feedback.

Expand
 

Emerging

The Learner is not able to efficiently communicate or receive feedback and identify areas for improvement.
 

Developing

Learners can share and receive feedback efficiently and are able to  identify some areas for improvement.
 

Proficient

The learner can communicate clearly and receive feedback. Learner efficiently shares suggestions on “even better if” and is able authentically to congratulate peers on the art they felt fitting.


Comments (0)

×